
Import from other apps
Moving to Trackli doesn't mean starting again. You can bring your tasks over from Trello, Todoist, Google Tasks or ClickUp, or from any spreadsheet saved as a CSV file. Importing is a one-off copy, so nothing changes in the app you're moving from.
Start an import
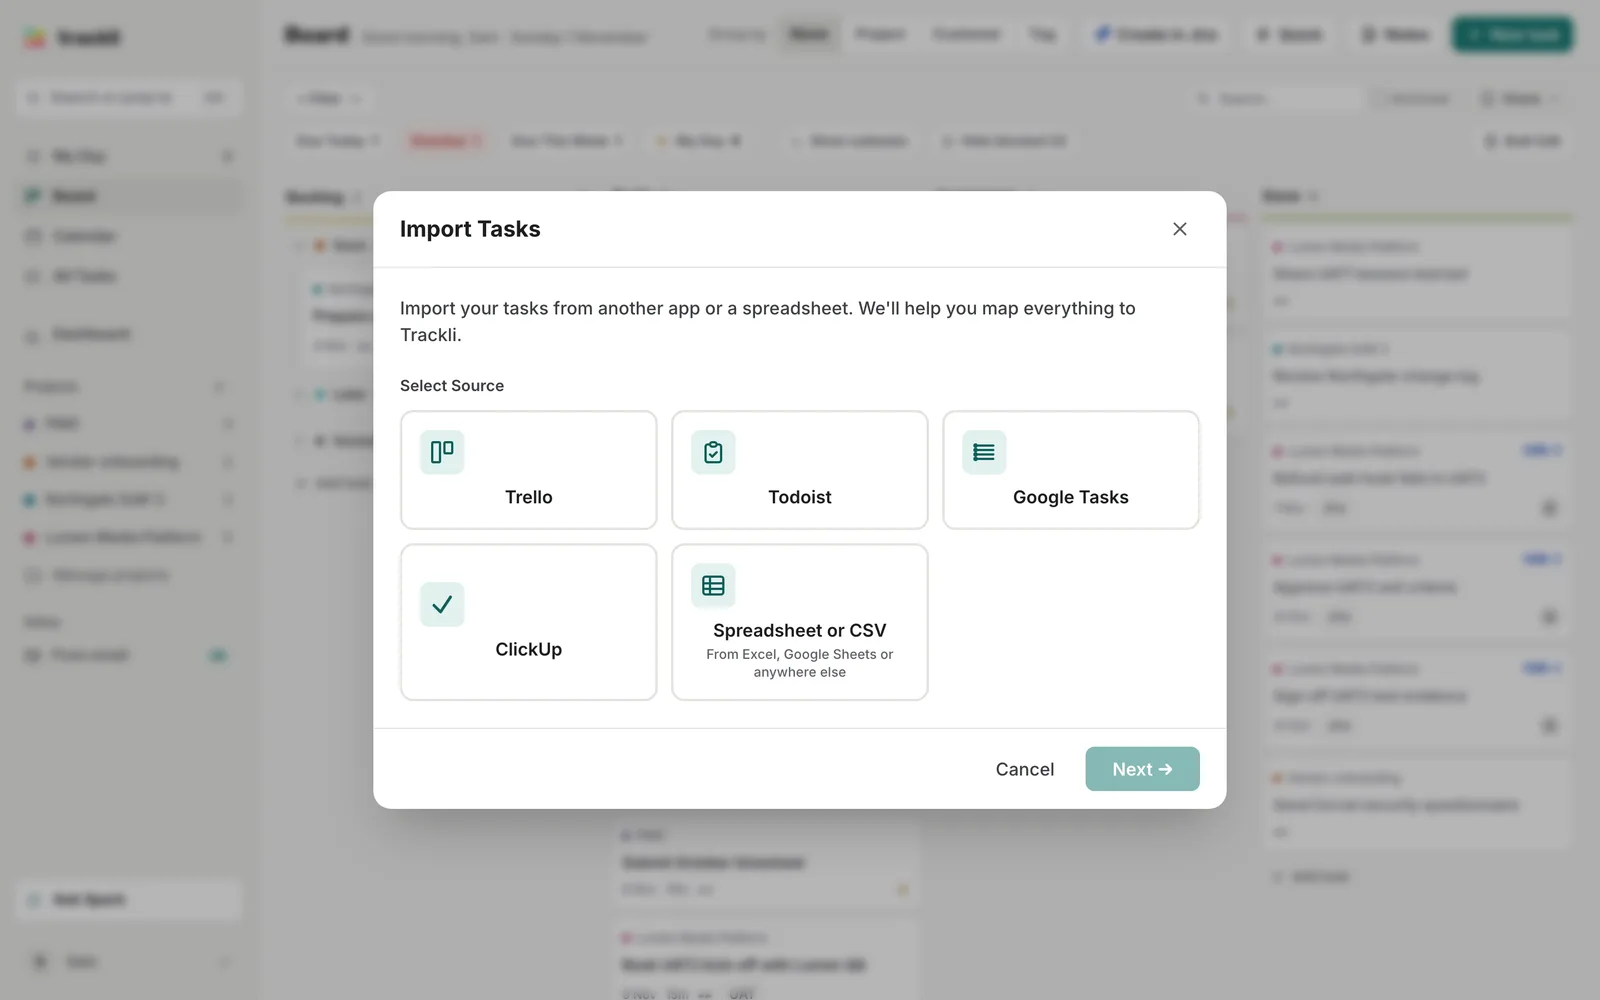
- Open your account menu (your avatar) and choose Import. You can also find Import Tasks in Settings, Integrations.
- Pick where your tasks are coming from. Trackli shows the steps to export them from that app.
- Drop the exported file in, or click to browse for it.
Export your tasks first
- Trello: open your board, open the menu, choose More, then Print and export, Export as JSON. Upload the .json file.
- Todoist: on todoist.com, open Settings, go to Backups and choose Download backup. Unzip it and upload the CSV file.
- Google Tasks: go to takeout.google.com, choose Deselect all, tick Tasks, then Next step and Create export. Unzip the download and upload the JSON file.
- ClickUp: open your List or Table view, choose Customize, then Export, pick All columns and the ISO date format, and download the CSV file.
- Spreadsheet or CSV: see below.
Import from a spreadsheet
Your file needs a Title column (or Task, or Name). These columns are optional:
- Notes (or Description)
- Due date (or Deadline) and Start date, written like 2026-11-05 or 05/11/2026
- Status: To do, In progress, Backlog or Done
- Project (or List)
- Priority: Urgent, High, Normal or Low
To save a CSV from Excel or Google Sheets, use File, then Save As (or Download) and pick CSV. Not sure where to start? Choose Download a template and fill it in.
Check and import
Trackli then walks you through a few steps. Some are skipped if they don't apply to your file.
- Map Lists to Statuses: match each list (ex: a Trello list called Doing) to a Trackli column. Trackli suggests a match from the names.
- Map labels or priorities: decide which ones make a task critical and what effort they mean.
- Assign Projects: choose Import all to one project (an existing one or a new one), or Assign individually. For a spreadsheet you can Use the Project column, which creates a project for each name in it. Rows with no project go into Imported tasks, unless you pick another project.
- Choose whether to Import completed tasks (as Done) and Import checklists as subtasks.
- Check the summary under Ready to Import, then choose Import (the button shows how many tasks, ex: Import 24 Tasks).
An import can't be undone, so give the summary a quick look first.
Tips
- Try a small file first. If you have lots of tasks, import one board or list to see how it looks.
- Already have a project with that name? A spreadsheet's Project column uses your existing project rather than making a second one.
- Want ClickUp to keep syncing rather than copy once? Connect ClickUp instead.